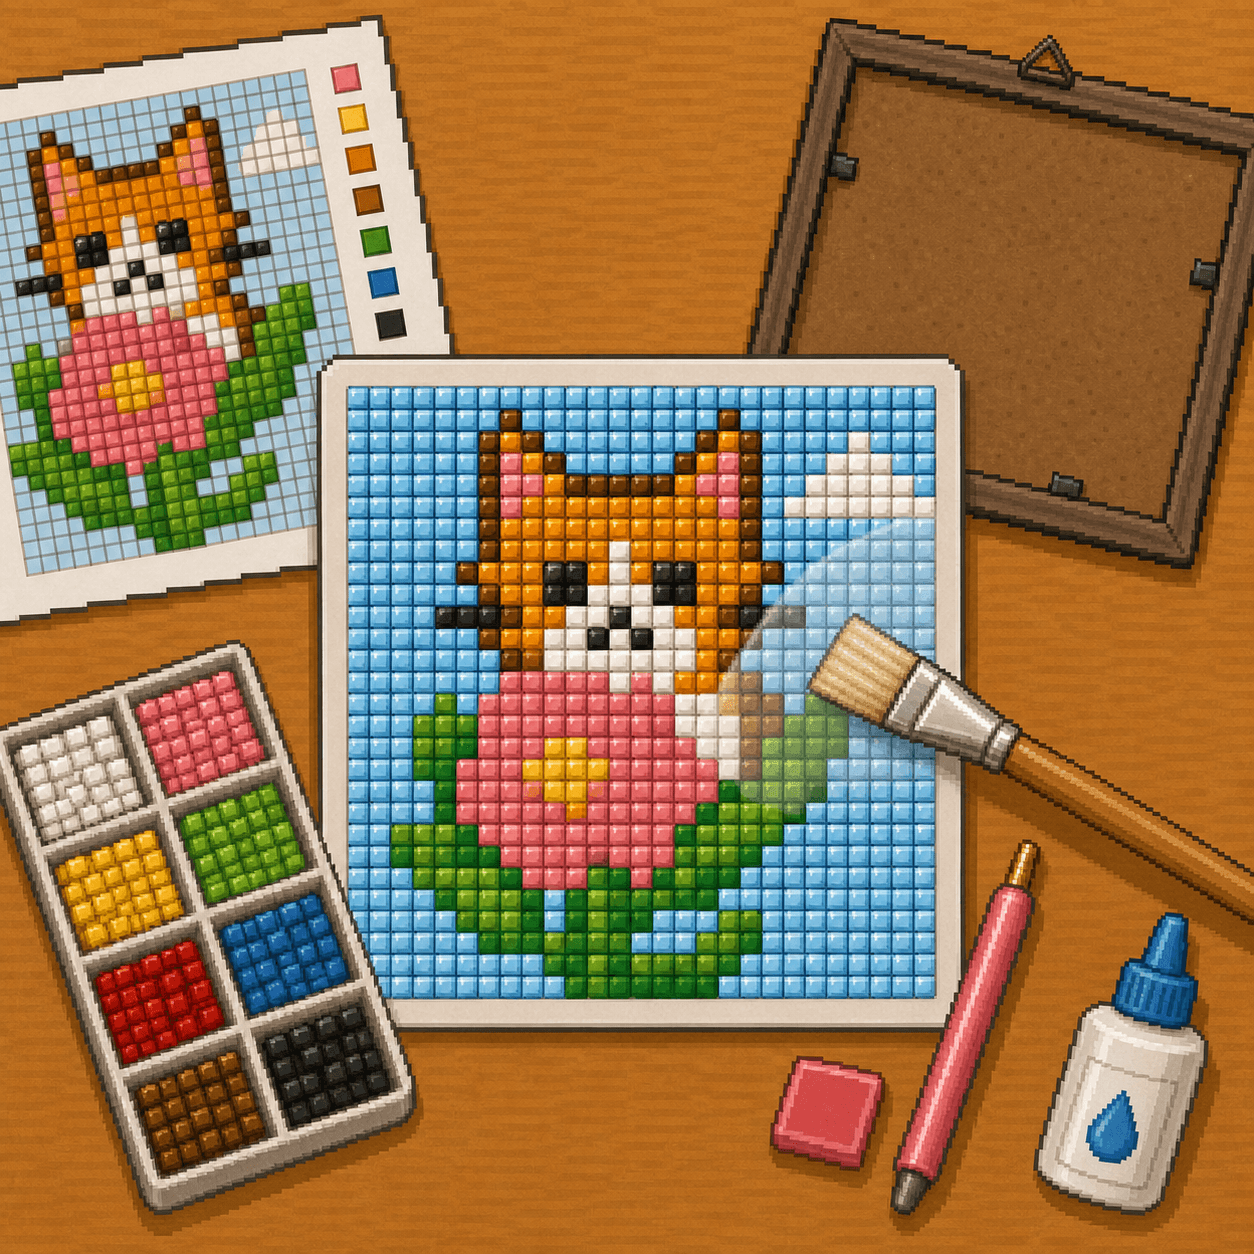
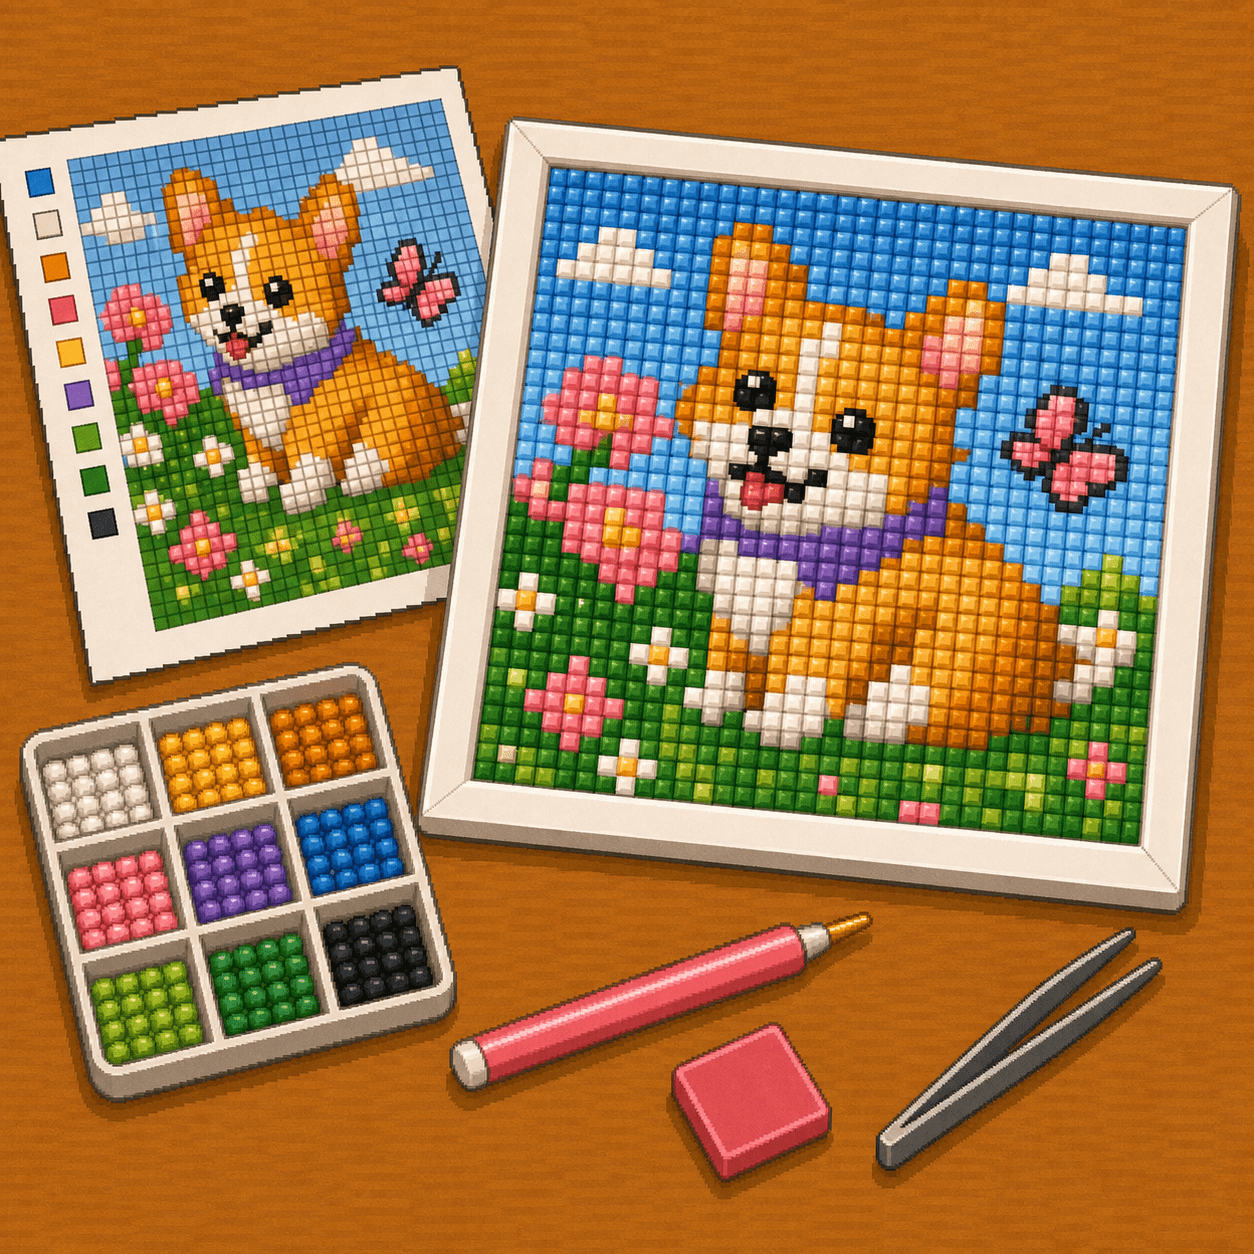
Adhesive drill patterns

Diamond Painting Getting Started

New to diamond painting? This guide shows you how to turn an 8bit Crafts pixel pattern into a sparkling drill project using blank diamond painting adhesive sheets. Instead of buying a preprinted kit, you can use an 8bit Crafts pattern as your chart and create your own design one square at a time.

Each square in the pattern becomes one resin drill. Start small, keep the pattern beside your work area, and build the design section by section.

You'll learn how to choose a simple first pattern, prepare a blank adhesive sheet, sort square drills, follow the chart, place drills cleanly, and finish your project.

Start small, keep the chart nearby, and compare each section before moving on. When you finish your project, share it with us at 8bitcrafter on Facebook or 8bitcraftkits on Instagram.

Pixel Pattern Method

How Diamond Painting Works with 8bit Crafts Patterns

Diamond painting works especially well with pixel patterns because each square can become one small resin drill. Use the 8bit Crafts pattern as your chart, then place matching drills onto a blank adhesive sheet.

Each square on the 8bit Crafts pattern equals one drill. A 20 x 20 pattern becomes a 20 x 20 drill layout. A 40 x 40 pattern becomes a 40 x 40 drill layout.

Start in one corner, choose a small section, and place drills in the same positions shown on the pattern. Beginners usually have the easiest time working in small sections, such as 5 x 5 or 10 x 10 squares.

Beginner rule: uncover only the area you can finish in one sitting.

Think of it this way:

  • 8bit Crafts pattern = your chart
  • Blank adhesive sheet = your project surface
  • Each pattern square = one drill
  • Each color block = the drill color to place

This method lets you use the same 8bit Crafts design for diamond painting, mosaics, plastic canvas, fuse beads, cross stitch, and other pixel-style crafts.

Basic Tools and Materials

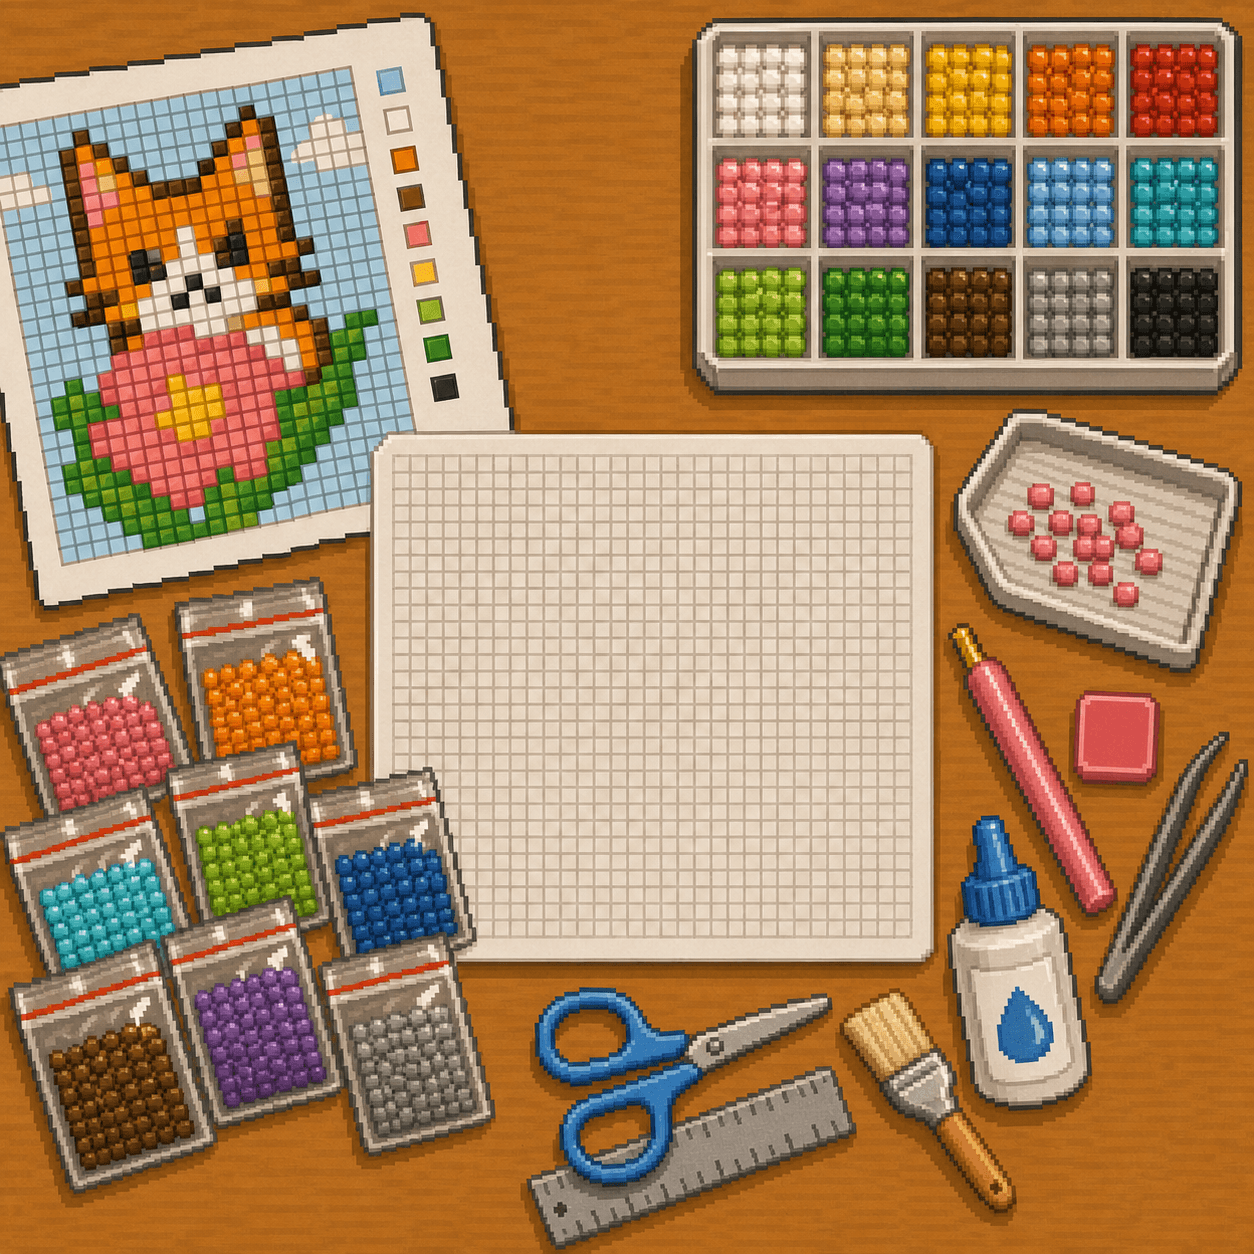
Diamond painting turns each square of an 8bit Crafts pattern into one small resin drill. Keep the pattern beside your work area and use it as your placement chart.

Square drills are the best default for pixel-style patterns because they sit edge to edge and keep the design crisp. Round drills can be used, but they leave more visible space between dots.

Required materials

  • An 8bit Crafts pattern
  • Square diamond painting drills in the colors needed for the pattern
  • Blank diamond painting adhesive sheet or blank adhesive canvas
  • Diamond painting pen
  • Wax pad
  • Grooved tray
  • Tweezers
  • Protective film or parchment paper

Helpful optional materials

  • Small containers or bags for sorting colors
  • Ruler
  • Light pad
  • Roller or flat book for pressing finished sections
  • Sealer, only if the project will be handled often

Keep the chart visible, keep the adhesive covered, and work in small sections so the rows stay accurate.

First Pattern

Choosing a Good First Pattern

Choose a small pattern for your first diamond painting project. Designs with clear shapes, fewer colors, and larger blocks of the same color are easier to follow.

Good beginner pattern traits:

  • Small overall size
  • Fewer colors
  • Strong contrast between colors
  • Large color blocks
  • Simple shapes
  • Minimal tiny details

More detailed patterns still work, but they require more sorting, checking, and careful placement.

Sizing

Check the Finished Size Before You Start

Diamond painting drills are small, so your finished size depends on the number of squares in the pattern and the size of the drills you use. Most square drills are about 2.5 mm wide.

A simple way to estimate size: number of squares times drill size equals finished size.

For example, a 40-square-wide pattern using 2.5 mm drills will be about 100 mm wide, or about 4 inches.

Check your drill size and adhesive sheet size before you start so the full pattern fits.

Setup

Preparing the Adhesive Sheet

Set up your 8bit Crafts pattern, blank adhesive sheet, and supplies before opening the first bag of drills. Keep the pattern visible beside your work area so you can check positions often. If your adhesive sheet has a grid, use that grid to place one drill per square. If it does not have a grid, lightly mark guide lines with a ruler before you begin, or work carefully from one corner so the rows stay straight.

Pixel art diamond painting setup with an 8bit Crafts pattern, blank adhesive sheet, square drills, tray, pen, wax, and tweezers.

Step 1

Gather the materials

Lay out the 8bit Crafts pattern, blank adhesive sheet, drills, tray, pen, wax, tweezers, and protective film or parchment.

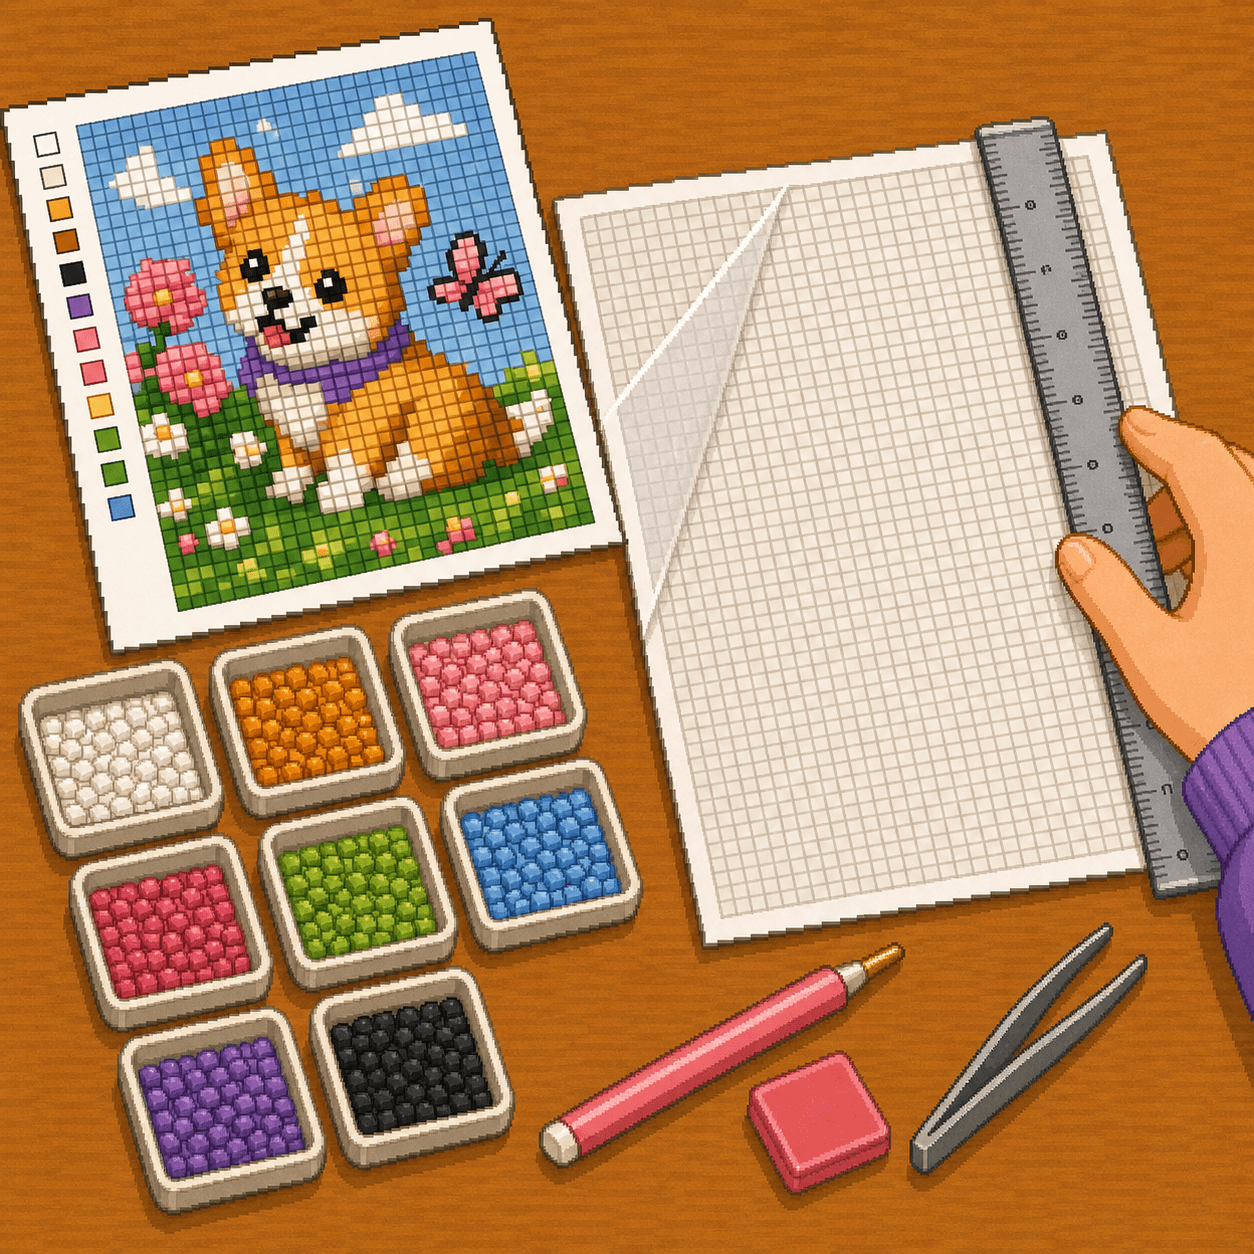
Pixel art ruler checking the size and guide grid on a blank diamond painting adhesive sheet beside an 8bit Crafts pattern.

Step 2

Confirm the grid and size

Make sure your adhesive sheet is large enough for the pattern. If the sheet has a grid, line up your first corner. If it does not have a grid, lightly mark guide lines or use a ruler to keep rows straight.

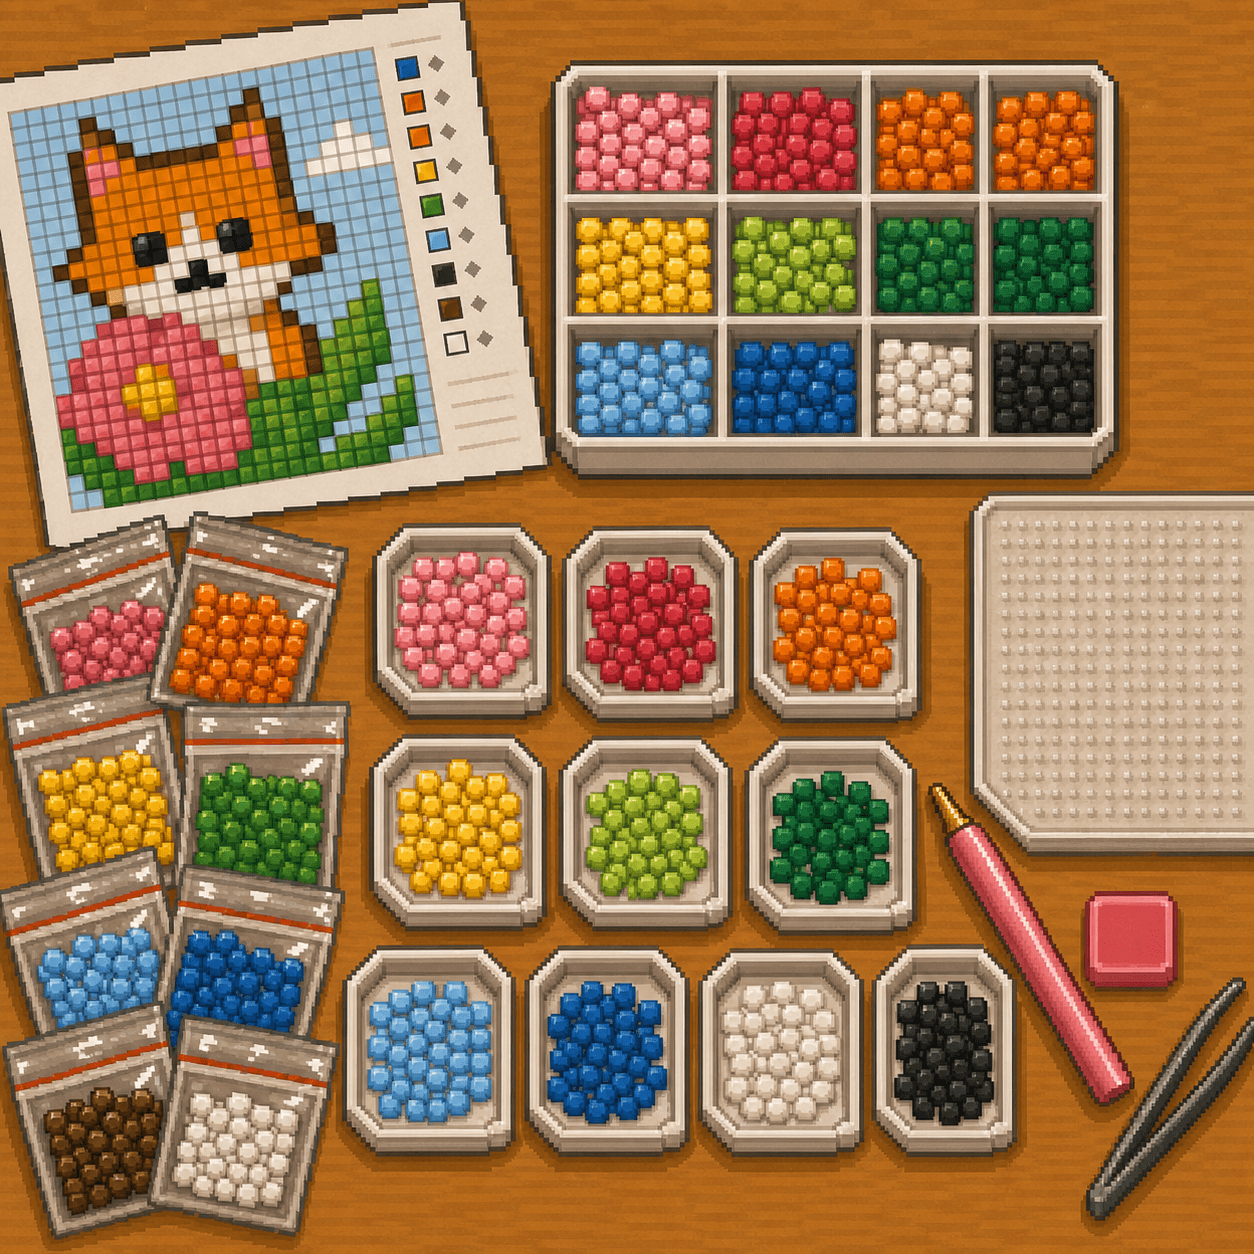
Pixel art sorted square diamond painting drills beside an 8bit Crafts pattern and blank adhesive sheet.

Step 3

Sort the drills

Open only the colors needed for your first section. Label containers or bags if colors are close. Do not mix similar shades in the same tray.

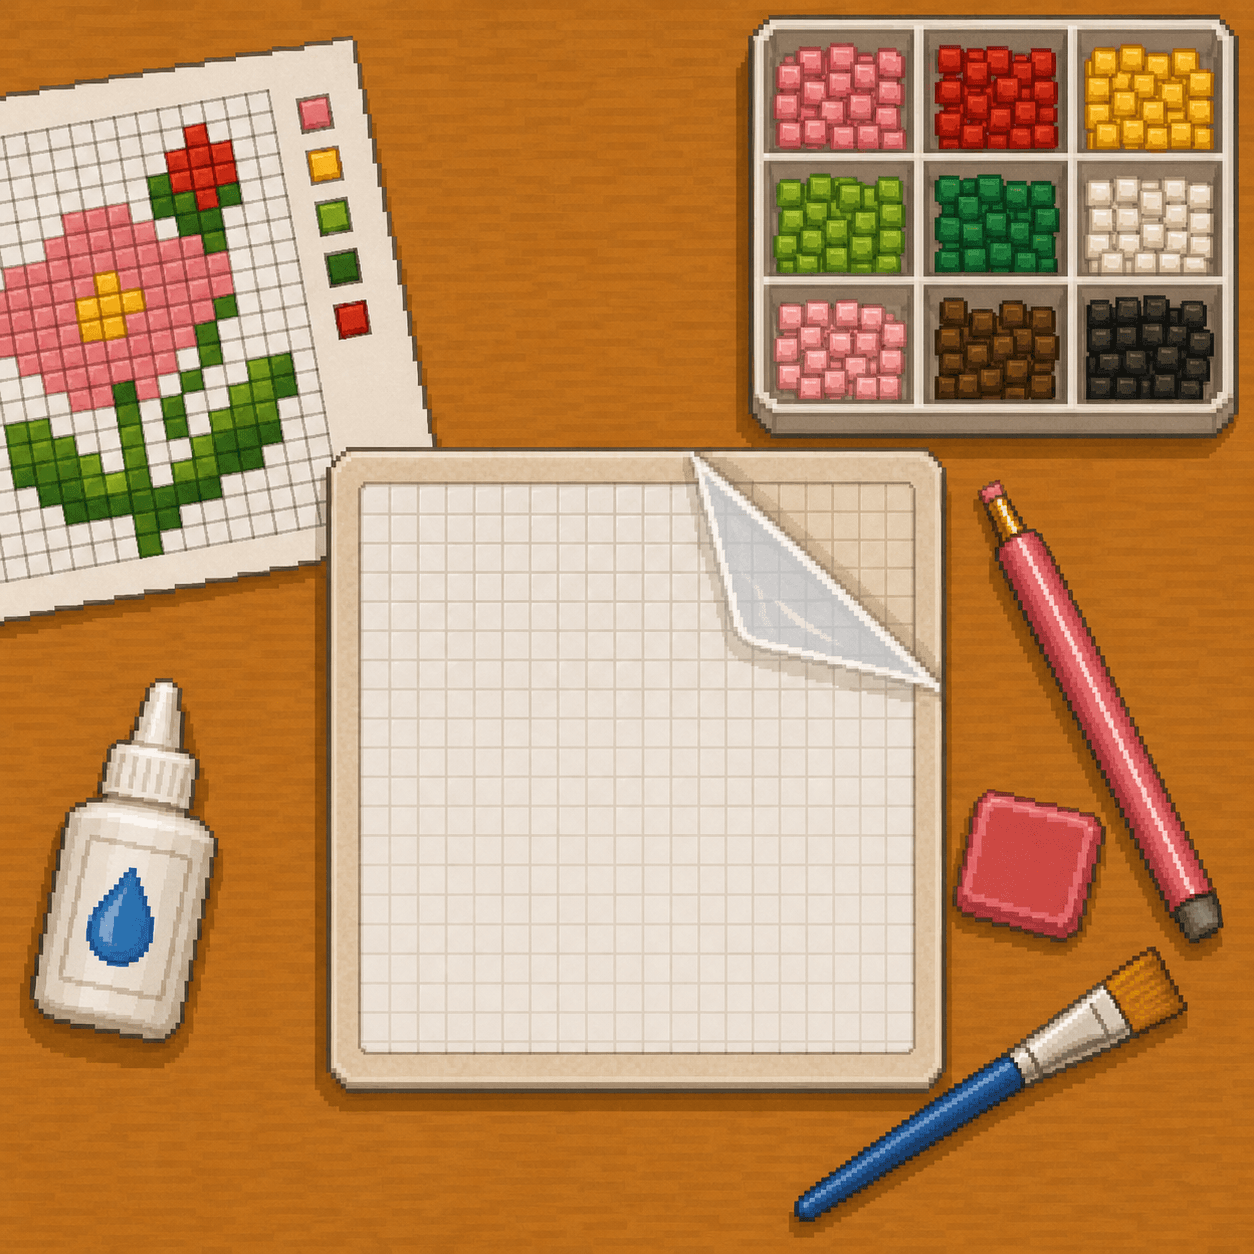
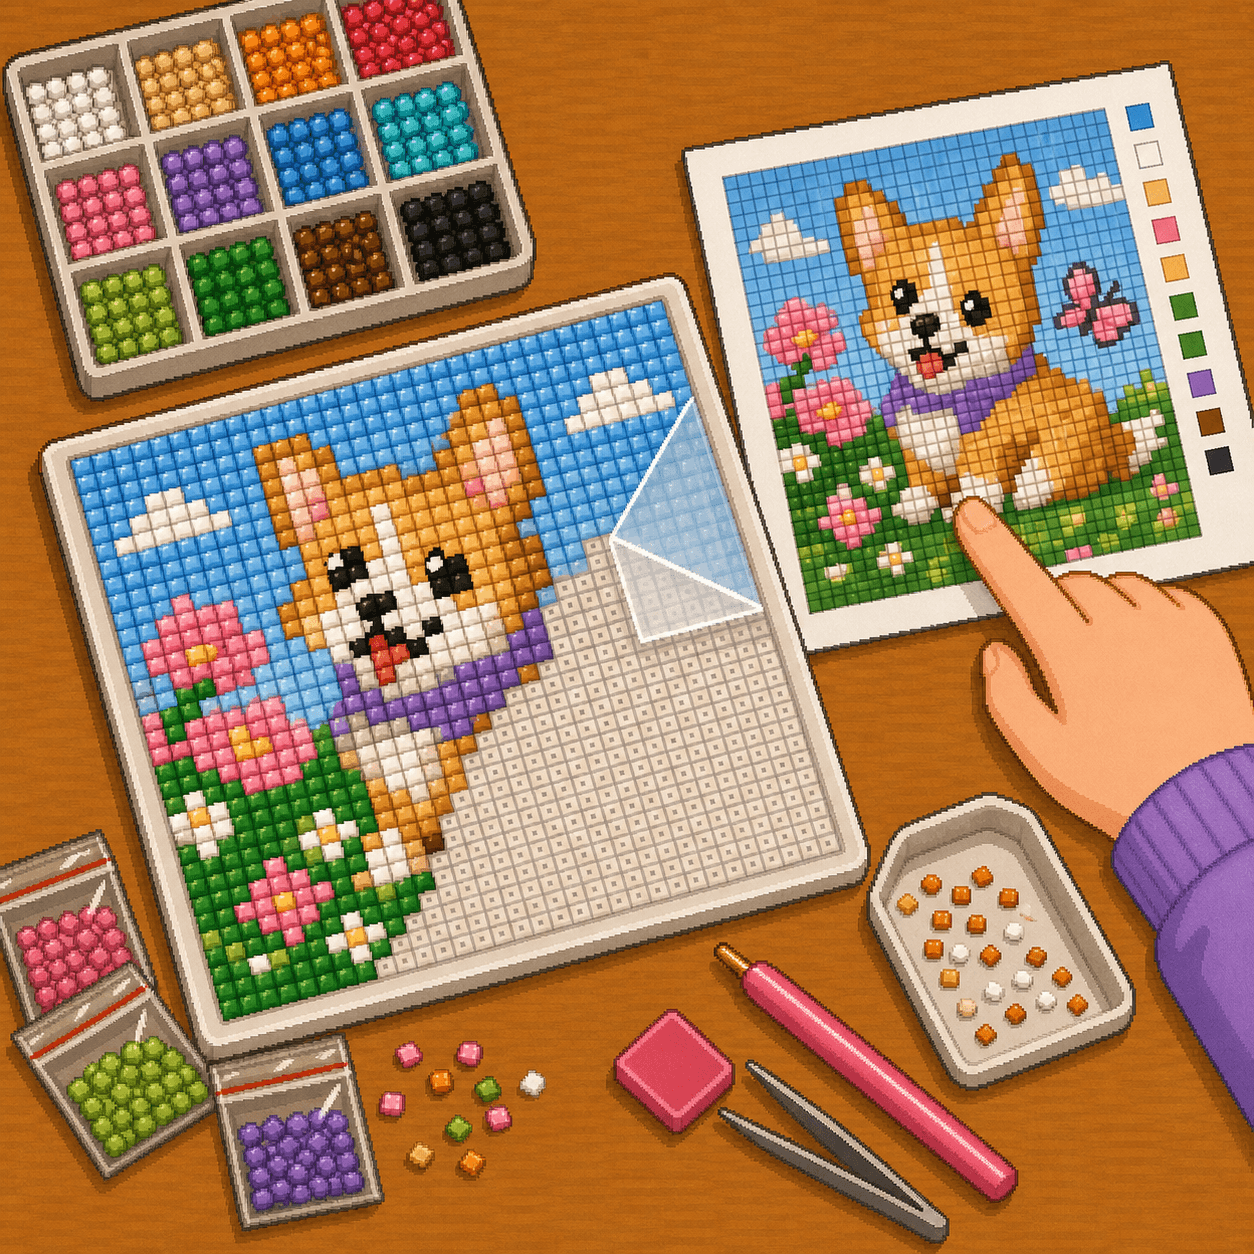
Pixel art blank diamond painting adhesive sheet with protective film peeled back beside an 8bit Crafts pattern.

Step 4

Expose one small area

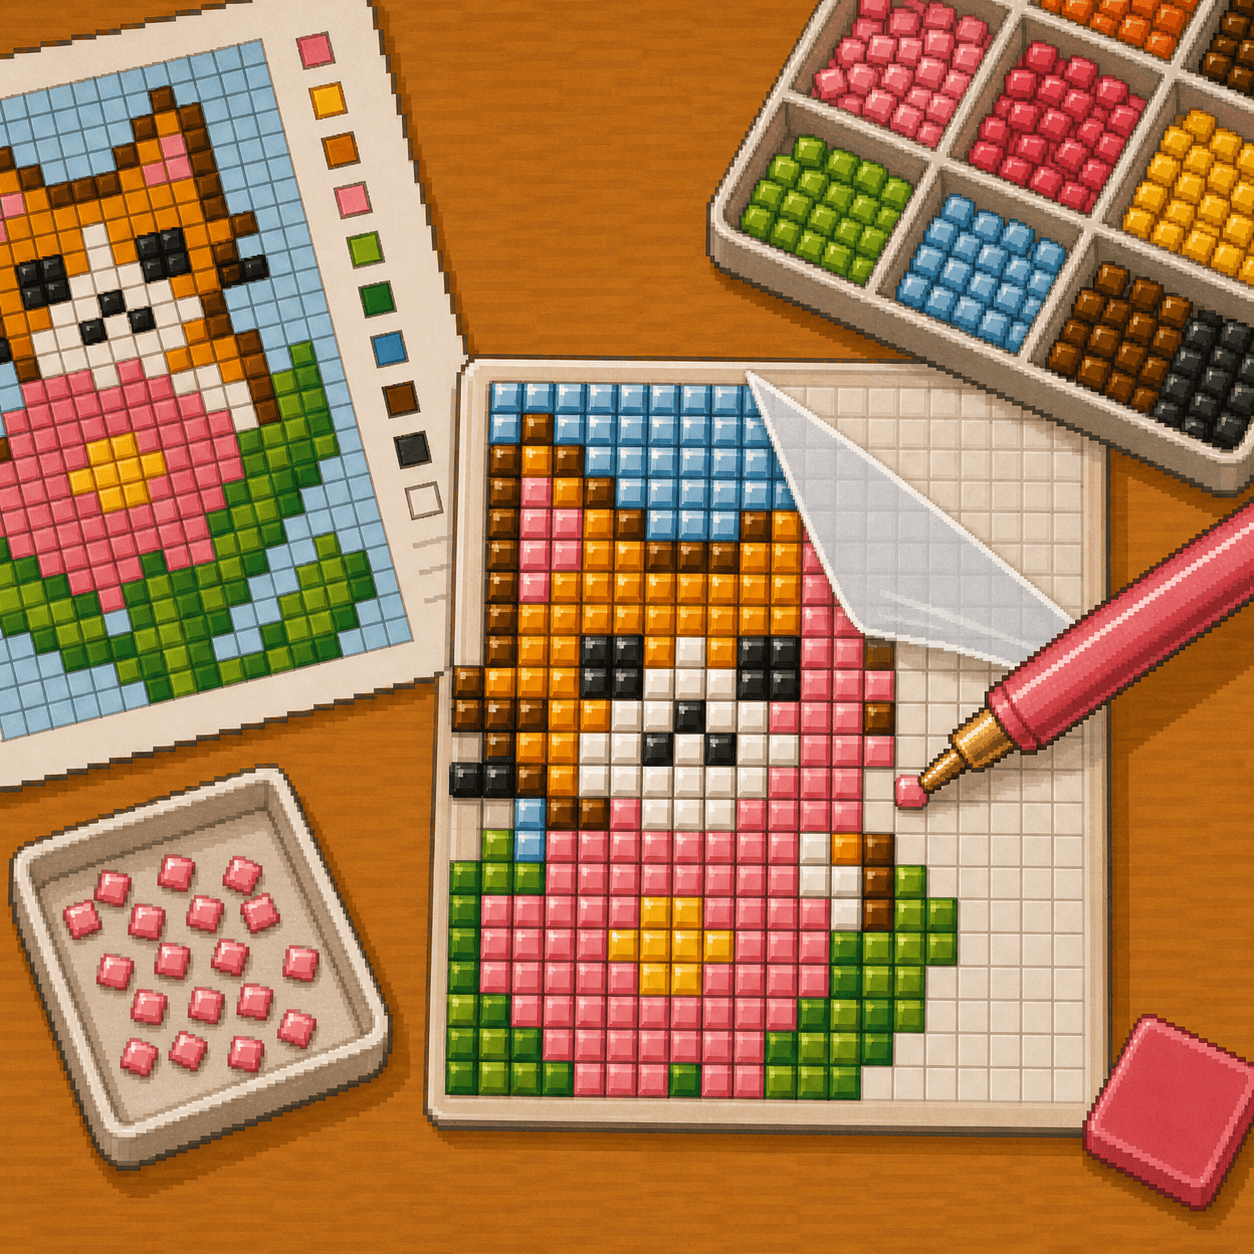
Peel back only a small part of the protective film. Keep the rest covered so the adhesive stays clean.

Technique

Placing the Drills

Place drills by matching the 8bit Crafts pattern to the same position on your adhesive sheet. Check the chart often. It is better to move slowly and stay accurate than to place a large section in the wrong position.

Do not expose the full adhesive sheet at once. Uncovered adhesive can collect dust, lint, and skin oil before you have time to place the drills.

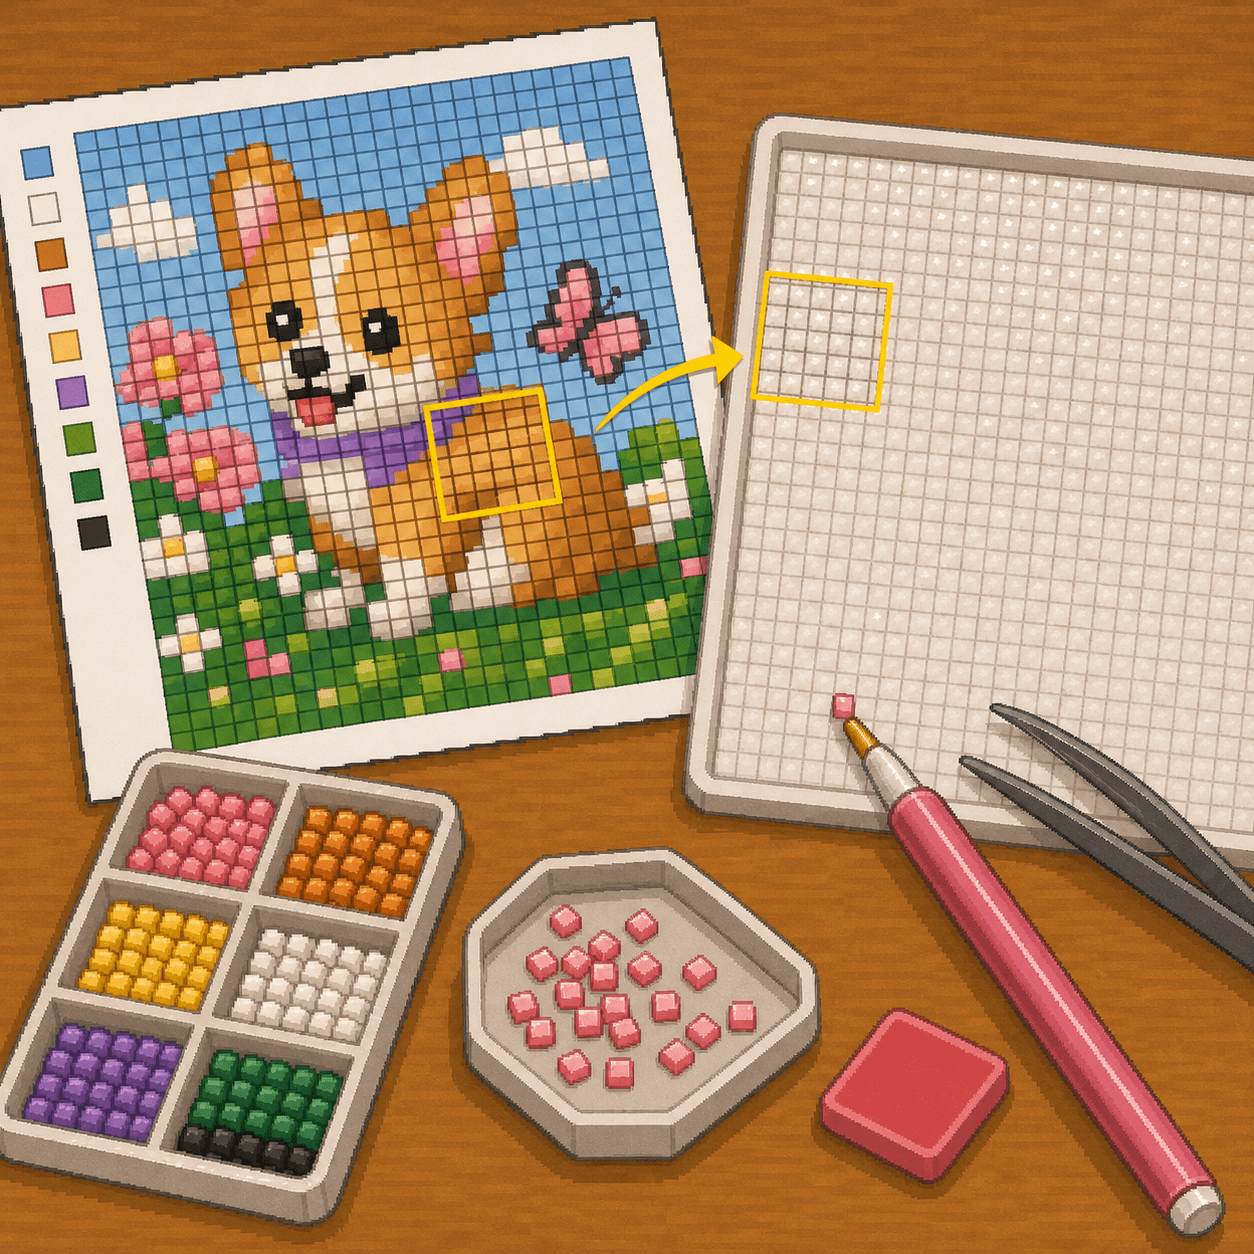
Pixel art small section highlighted on an 8bit Crafts pattern beside the matching blank adhesive grid area.

Step 1

Pick a small section

Choose a small section of the pattern, such as a 5 x 5 or 10 x 10 area. Find the matching area on your adhesive sheet.

Pixel art square diamond painting drills lined up in a grooved tray beside an 8bit Crafts pattern.

Step 2

Load the tray

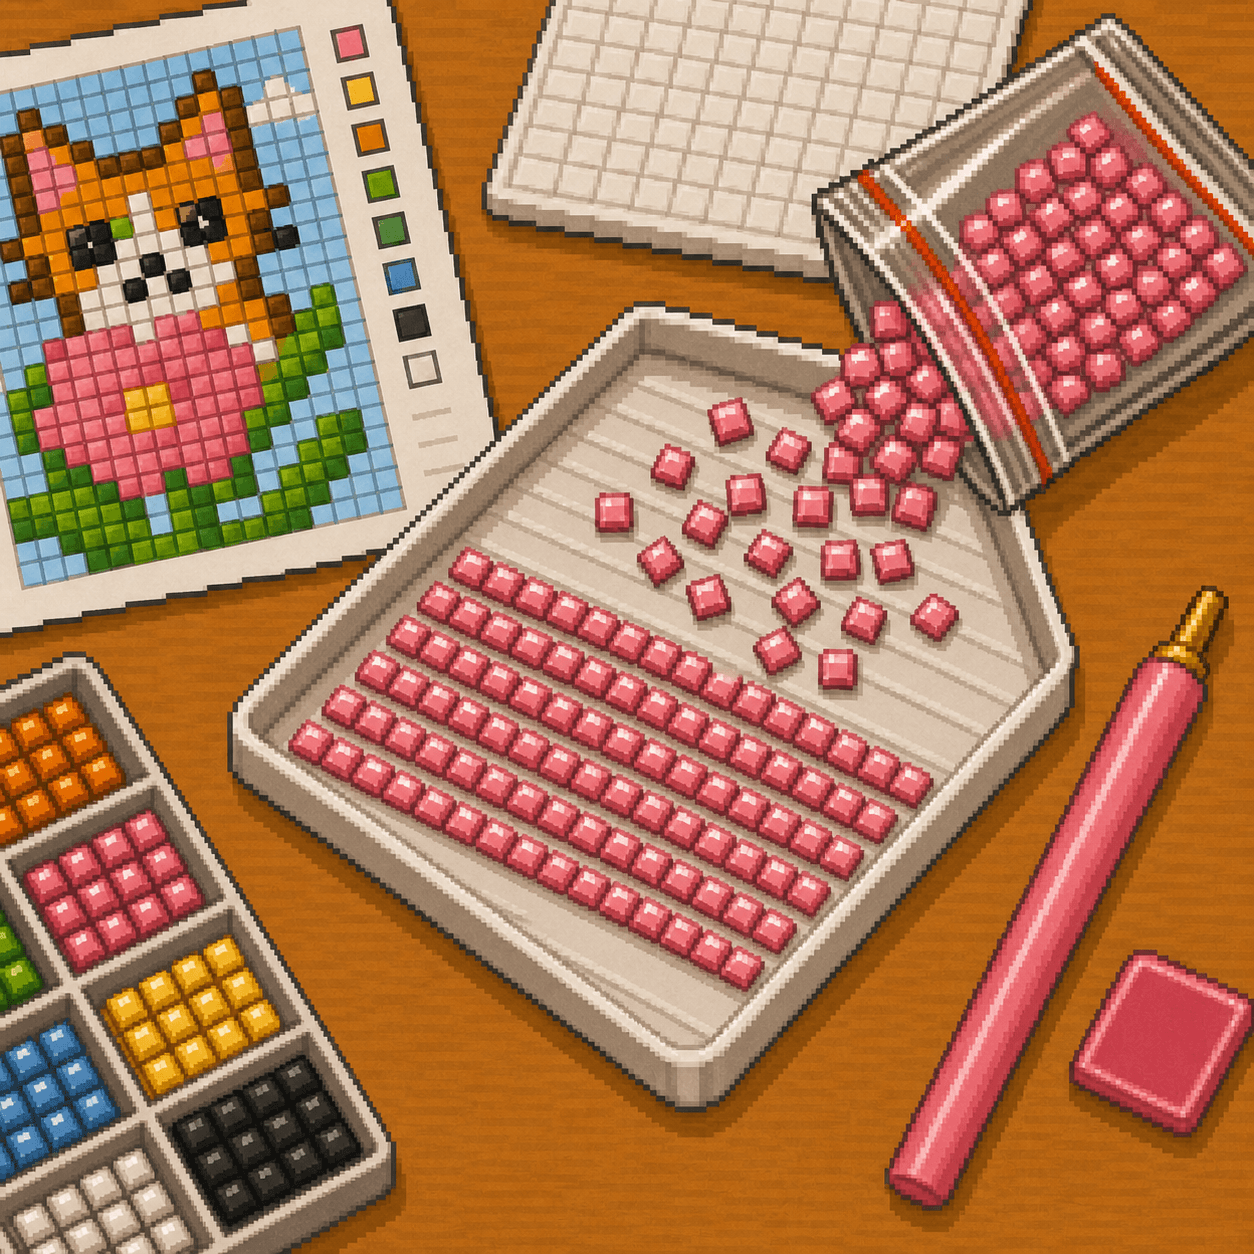
Pour one drill color into the grooved tray and shake gently so the drills line up with the faceted side facing up.

Pixel art diamond painting pen pressed into a pink wax pad.

Step 3

Wax the pen

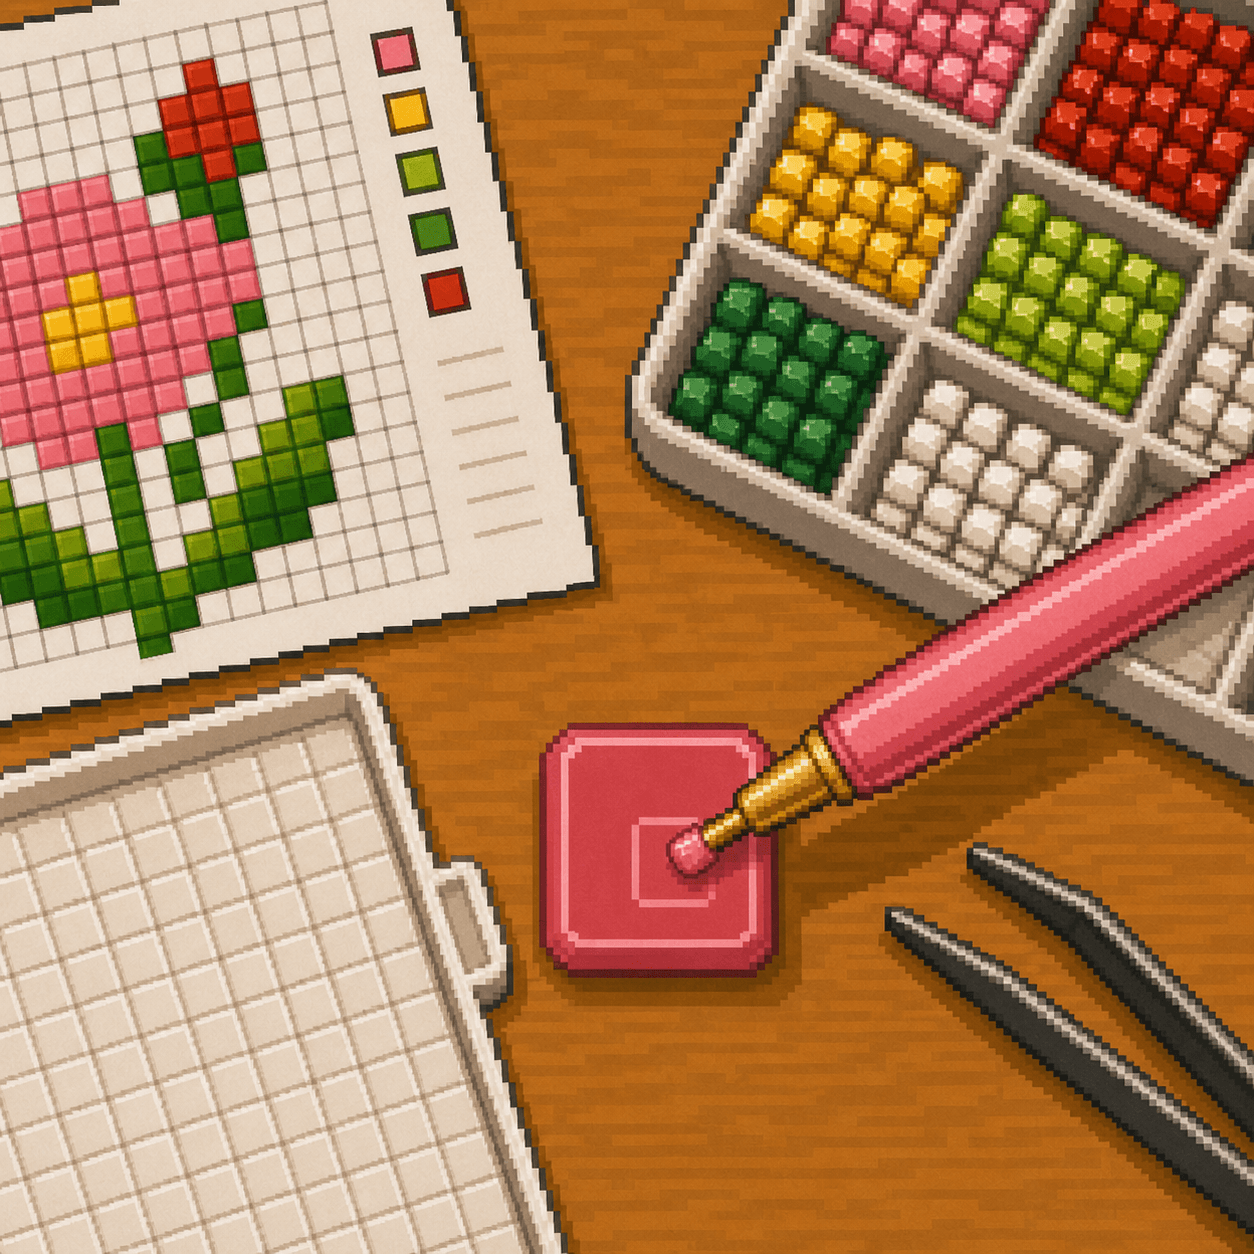
Press the pen tip into the wax pad. Use just enough wax to pick up one drill.

Pixel art diamond painting pen picking up one square resin drill from a grooved tray.

Step 4

Pick up a drill

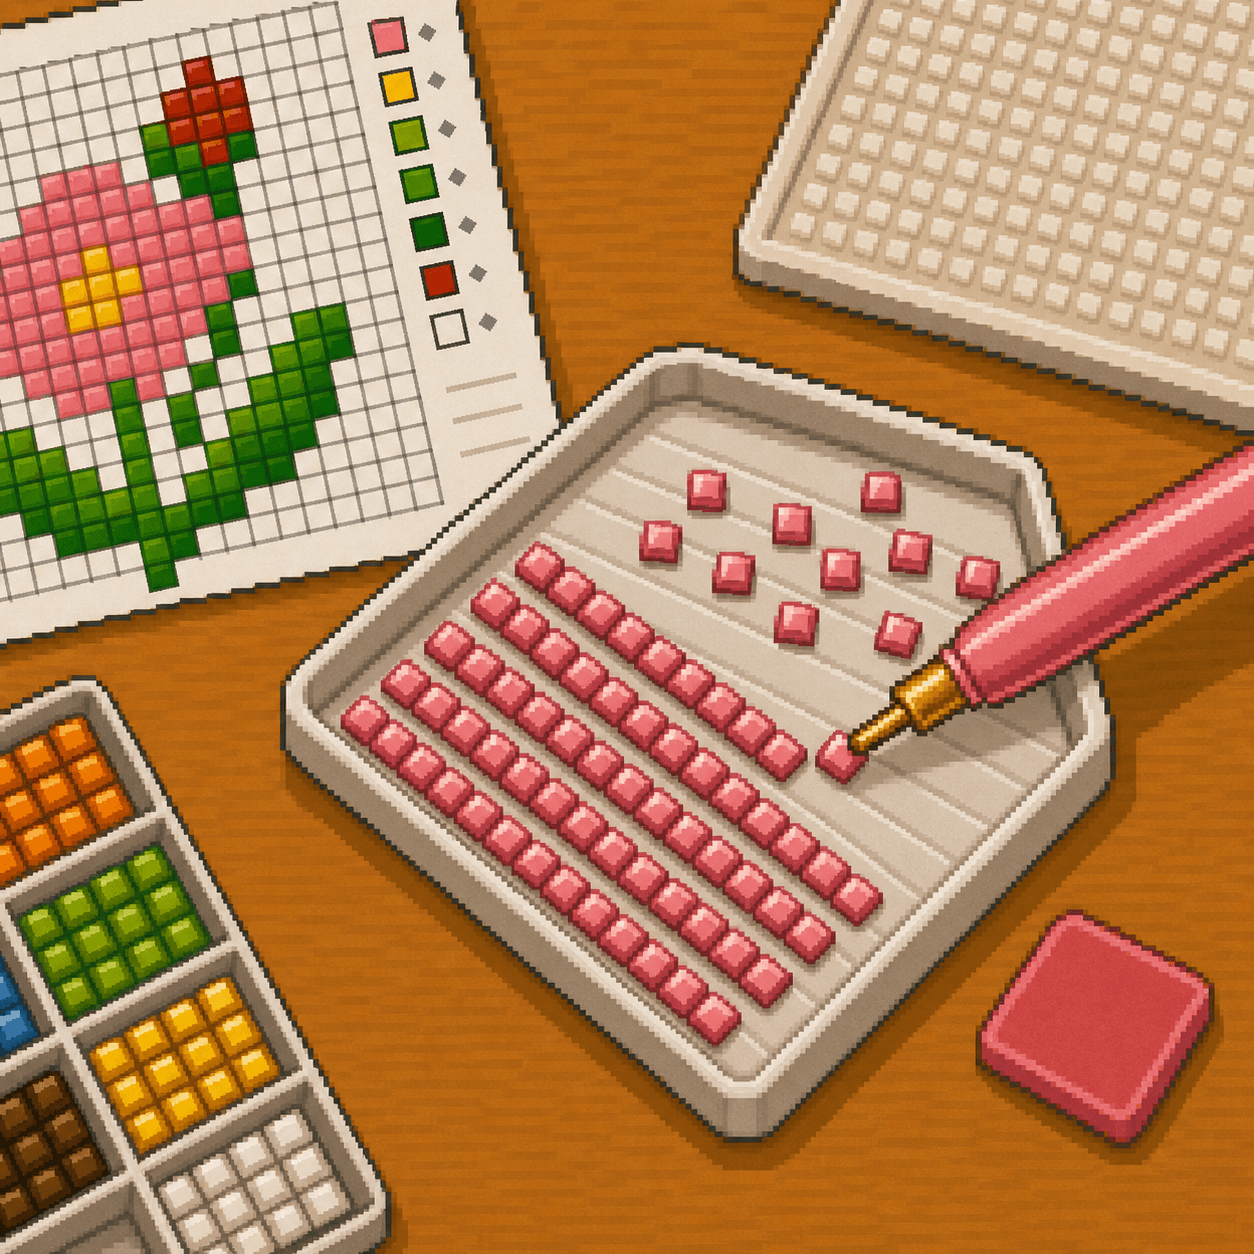
Touch the pen to the top of one drill and lift straight up.

Pixel art diamond painting pen placing a square drill on a blank adhesive grid while following an 8bit Crafts pattern.

Step 5

Place the drill

Use the pattern as your chart. Place the drill on the matching square of your adhesive sheet. If it lands crooked, nudge it into place before the surrounding squares fill in.

Pixel art partially completed diamond painting section being checked against an 8bit Crafts pattern before uncovering the next area.

Step 6

Check before moving on

After every small section, compare your work to the pattern before uncovering the next area.

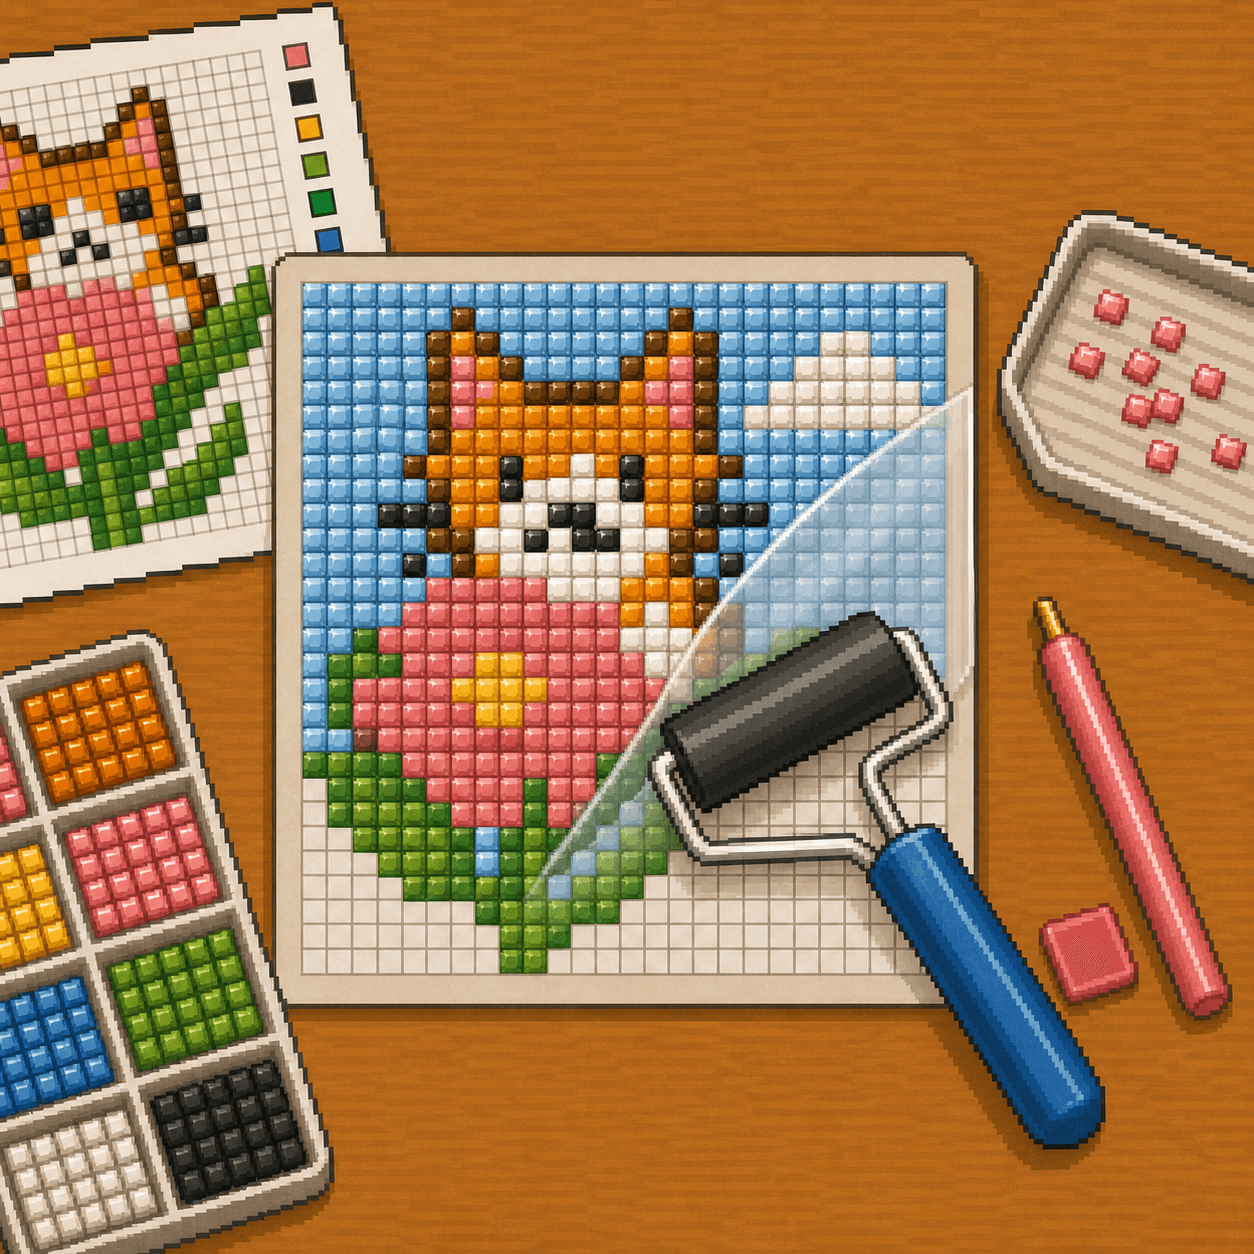
Pixel art completed square-drill diamond painting section being pressed with a roller over protective film.

Step 7

Press completed sections

Cover the finished section with protective film or parchment and press gently with a roller or flat book.

Final Step

Finishing the Project

Finish the project only after every drill is placed, checked, and pressed.

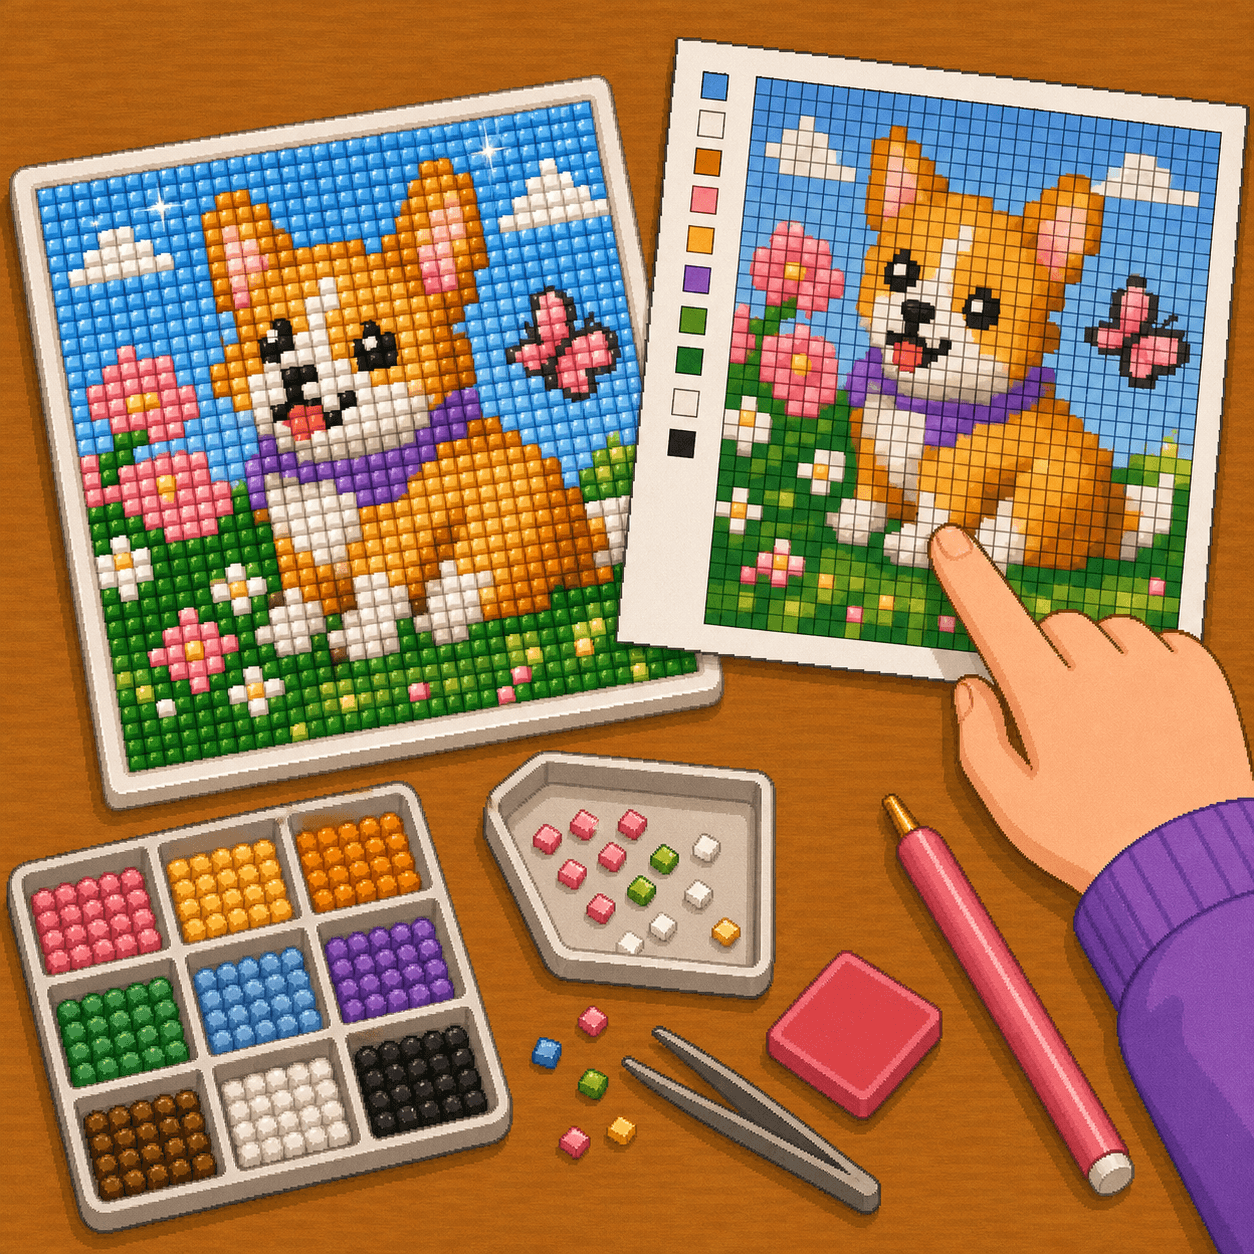
Pixel art finished square-drill diamond painting being checked against an 8bit Crafts pattern for missing drills and color placement.

Step 1

Check the chart one last time

Compare the finished project to the 8bit Crafts pattern. Look for missing drills, wrong colors, crooked rows, or loose pieces.

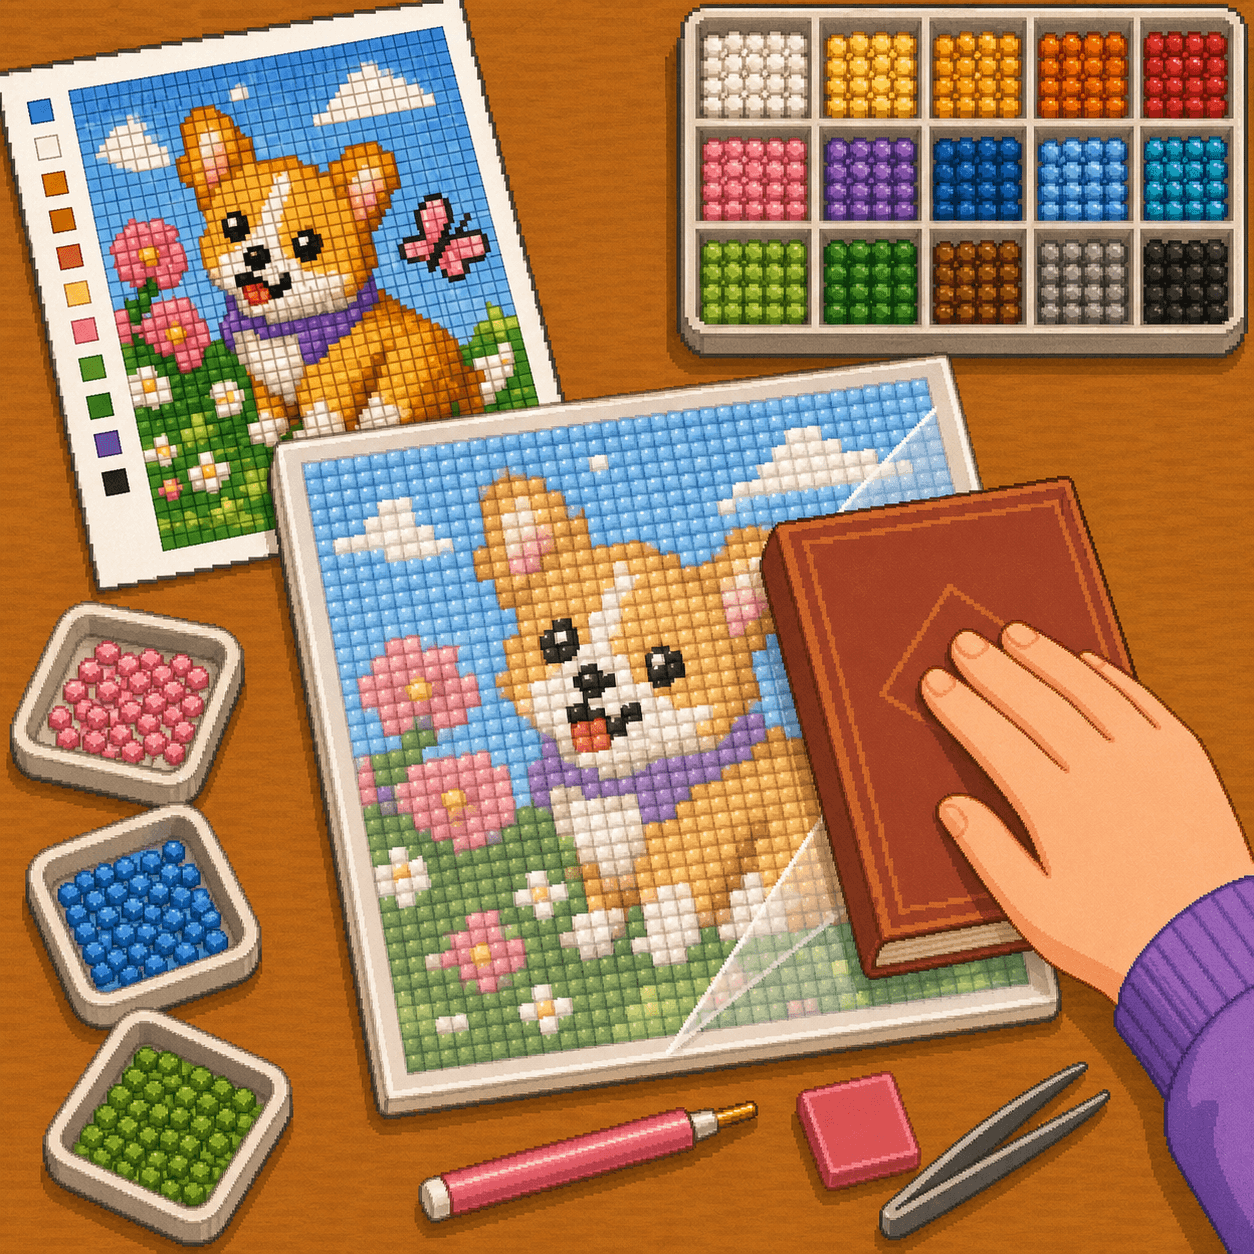
Pixel art full square-drill diamond painting covered with protective film and pressed evenly with a roller.

Step 2

Press the full design

Cover the finished project with protective film or parchment and press it with a roller, flat book, or clean board.

Pixel art completed square-drill diamond painting being sealed with a small brush.

Step 3

Seal only if needed

Only use sealer if the project will be handled often or if the adhesive needs extra hold. Test a small edge first because some sealers reduce sparkle.

Pixel art completed square-drill diamond painting framed or mounted flat beside an 8bit Crafts pattern and tools.

Step 4

Frame, mount, or store flat

Frame the finished project, mount it to a board, or store it flat under clean cover.

Tip

Diamond Painting Tips

Square drills are the best default for 8bit-style designs because their edges line up like pixels. Round drills can work, but the finished piece will look softer and more dotted.

If you lose your place, stop and compare your current section to the 8bit Crafts pattern before placing more drills. Fixing one small area is much easier than removing a large finished section.

If the pen stops picking up drills, add a small amount of fresh wax. Too much wax can leave residue, so refill lightly and replace the wax when it gets dirty.

Beginner Help

Common Diamond Painting Mistakes

Most beginner diamond painting problems come from exposing too much adhesive, mixing colors, or losing your place in the pattern.

Common mistakes:

  • Starting without checking the finished size
  • Forgetting that each square equals one drill
  • Removing the entire protective film at once
  • Touching exposed adhesive with fingers
  • Skipping the grid or starting crooked
  • Mixing similar drill colors in one tray
  • Opening too many colors at once
  • Overfilling the tray so drills cannot line up
  • Using too much wax in the pen tip
  • Pressing drills so hard they slide out of position
  • Forgetting to check positions against the 8bit Crafts pattern
  • Sealing before checking for missing or incorrect drills

The easiest way to avoid problems is to work small, keep the adhesive covered, and compare each section to the pattern before moving on.

Ready to Try a Diamond Painting Pattern?

Choose a small 8bit Crafts pattern, prepare a blank diamond painting adhesive sheet, sort the square drills you need first, and build the design one section at a time. Use this guide when you are ready to place, press, and finish your project.

Browse Patterns